The Windows Server 2008 R2 Migration Tools are a set of tools available to simplify migration of various roles, features and other server data to a new server running Windows Server 2008 R2.
As described on the Migration Tools TechNet documentation, the following can be migrated using these tools:
Roles
Active Directory Domain Services and DNS
DHCP Server
File Services
Print Services
DHCP Server
File Services
Print Services
Features
BranchCache
Settings and Data
Data and Shares
IP Configuration
Local Users and Groups
IP Configuration
Local Users and Groups
Installation
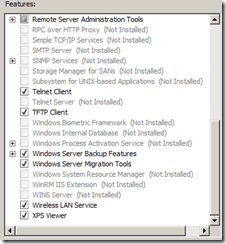
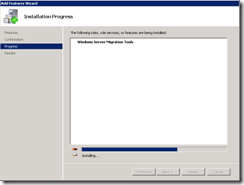
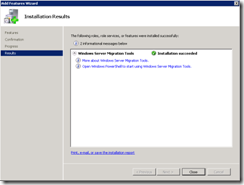
Start by installing the Windows Server Migration Tools feature from the Add feature wizard in Server Manager on the destination server running Windows Server 2008 R2:
You can find the new feature on the Start-menu in Administrative tools:
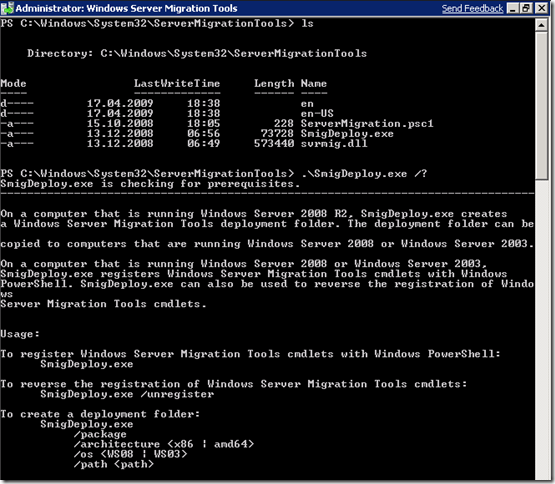
After the “Windows Server Migration Tools” PowerShell prompt are opened, go to C:\Windows\System32\ServerMigrationTools.
Type SmigDeploy.exe /? to list the description and usage of this command.
Type SmigDeploy.exe /? to list the description and usage of this command.
Example usage
In this example we`ll migrate a DHCP Server running on a Windows Server 2003 machine. To create a deployment package for Windows Server 2003 32-bit, execute the following command:
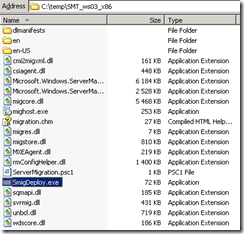
When the package folder are successfully create, copy the folder to the source DHCP Server:
The only requirement on the source Windows Server 2003 server are Windows PowerShell (and thereby .NET Framework 2.0).
Start SmigDeploy.exe from the SMT_ws03_x86 folder to fire up Windows PowerShell with the Windows Server Migration Tools snapin.
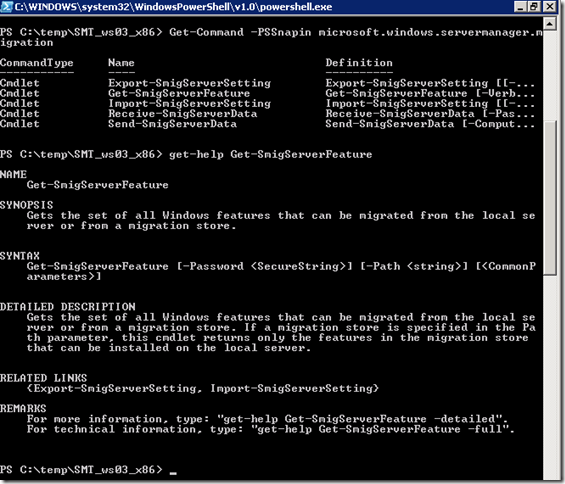
Available cmdlets for this snapin:
Execute the cmdlet Get-SmigServerFeature to get the set of all Windows features that can be migrated from the local server:
Here we got the DHCP Leases on the source DHCP Server, which are to be migrated to the Windows Server 2008 R2 server:
To export the DHCP Server configuration and database, run the Export-SmigServerSetting cmdlet with the following parameters (you will be prompted for a password to protect the exported file):
The export was successful, and we can see the exported *.mig-file:
Copy the *.mig file to the target DHCP Server.
To import the DHCP Server configuration and database, run the Import-SmigServerSetting cmdlet with the following parameters (you will be prompted for the password for the exported file):
To import the DHCP Server configuration and database, run the Import-SmigServerSetting cmdlet with the following parameters (you will be prompted for the password for the exported file):
The DHCP Server feature was not installed on the Windows Server 2008 R2 server, but the Import-SmigServerSetting takes care of this automatically:
The import was successful:
After starting the DHCP Server service we can open the DHCP Server management console and verify that the migration was successful:
This concludes this post regarding the new Migration Tools, and I must say I really like this new feature, especially the fact that it`s leveraging Windows PowerShell. I would recommend you to play around with this in a lab environment to get to know it`s usage.
Edit 25.08.2009: As stated in the documentation on Technet, the DHCP-service on the source server must be stopped (Stop-Service DHCPserver) prior to the export. Thanks to Max for pointing this out



No comments:
Post a Comment