Saturday, April 9, 2011

Upgrade ESX3.5 to ESX4 with vSphere Host Update Utility

In this post, I would like to introduce vSphere Host Update tool. With this tool you’re able to update an ESX host without VMware Update Manager, just like the VMware Infrastructure Update utility. This utility tool is an optional tool & bundled inside vSphere Client installer, this means that you can install it while you are installing vSphere Client. In this post I will guide you through the upgrade process of an ESX 3.5 host which runs on HP Proliant DL380 G4.
Start the vSphere Host Update Utility here:
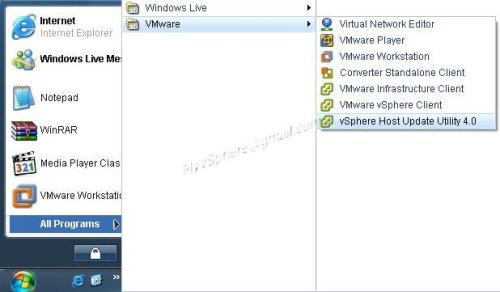
vSphere Host Update Utility 4.0
At the same time, fire-up your Virtual Infrastructure Client & login to the existing ESX3.5 server with Update 3, as shown as below. As a reminder, any upgrade on ESX host process only can be proceed while it is in maintenance mode.
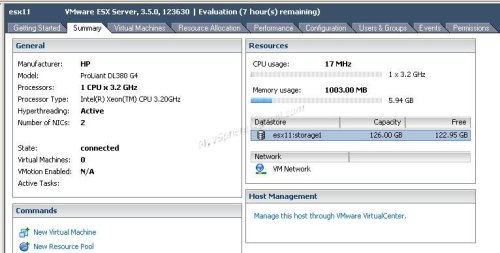
existing ESX 3.5 server update 3
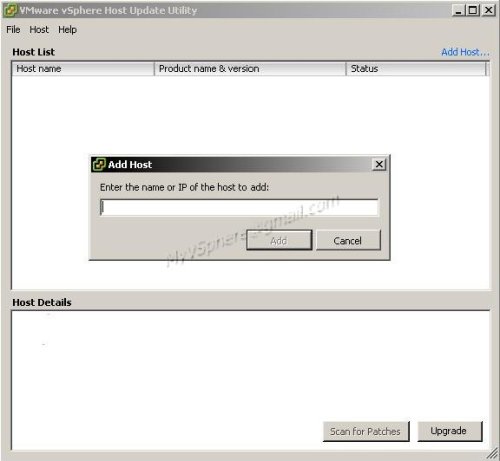
Now back to the new utility. First what we need to do is adding ESX host by clicking Add Host at the right top of the utility window & enter the ESX server IP address.
Add ESX host
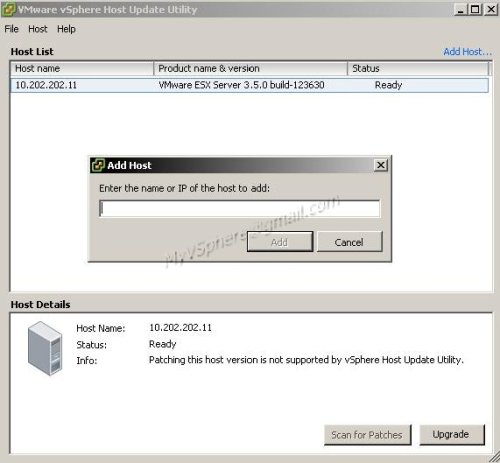
After added the ESX host, so now we’re ready to upgrade. Select the host and press the upgrade button.
added ESX hosts
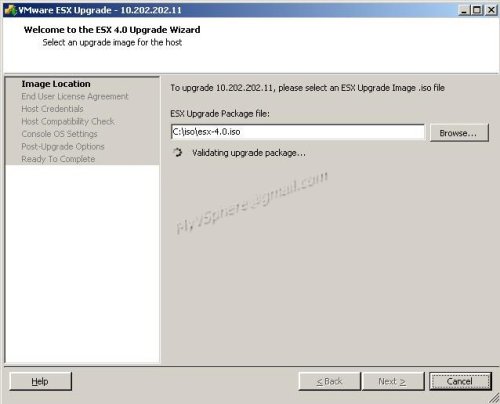
The ESX 4.0 Upgrade Wizard starts. You’ll have to add the upgrade iso file which you can download from VMware.com which available on 21st May 2009 onwards.
ESX ugrade wizard
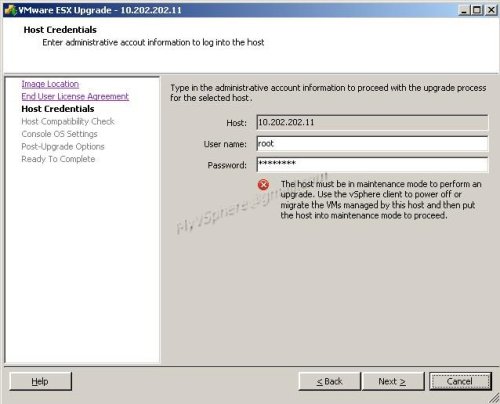
Enter the credentials for your host. If you haven’t set the ESX host enter maintenance mode, you’ll see an error as below:
ESX credentials

So beware, any upgrade on ESX host process only can be proceed while it is in maintenance mode.
Then it will run compatibility check on ESX host.
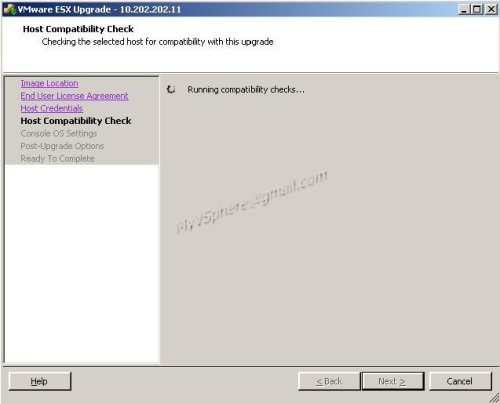
compatibility check
Next you’ll be prompted to assign the Console OS disk size & disk location. At this practice, i assign 10GB.
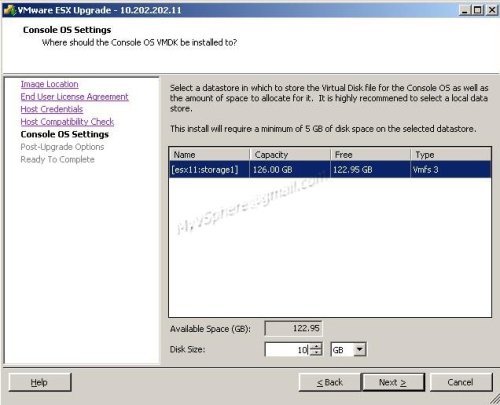
Concole OS setting
At the next window, just tick the first option in order to make sure the existing ESX server will not be corrupted in case of any upgrade failure occurs.
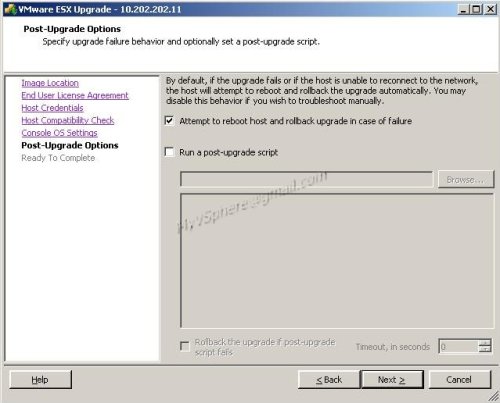
post upgrade
Now, you are ready to complete the wizard & starts the upgrade process.
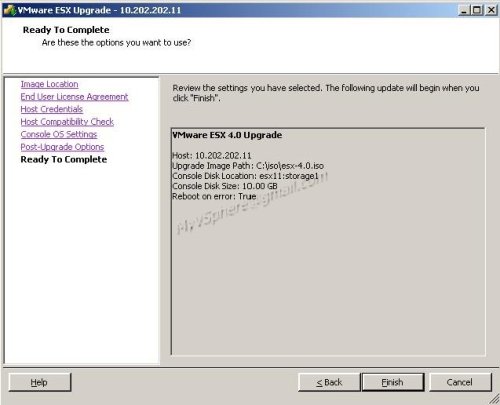
wizard complete
Firstly, it will copy the entire ISO image to the ESX server for a faster upgrade process & avoid any network interruption upon post-upgrade is running on.
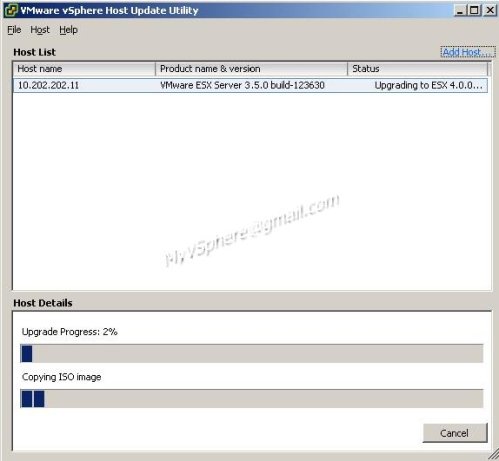
copy ISO image
After finishing copied, it starts to install new packages for ESX 4.0.
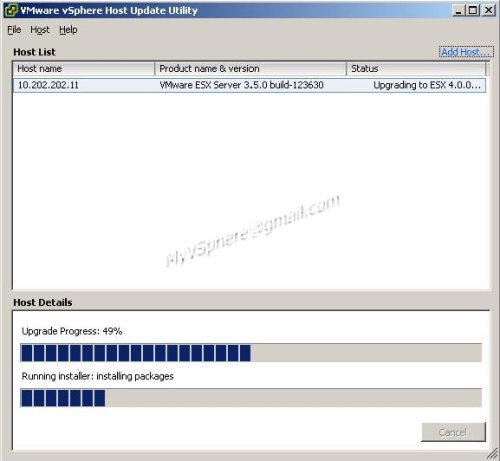
Installing packages
While this process is running, your VI Client which connected to the ESX host will be disconnected as-well.
This is due to the new updates on Apache Tomcat & some web services.
Finally, you will successfully upgraded to the ESX 4 if everything goes smooth like my practice.
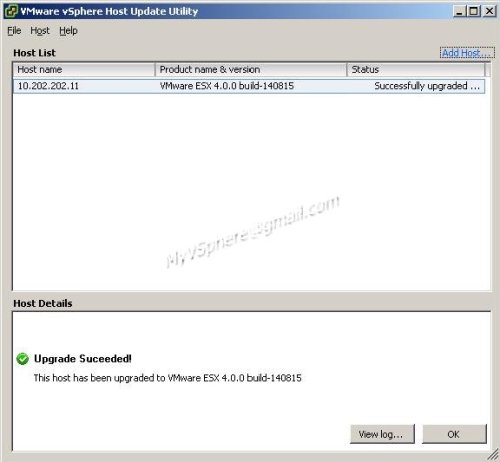
upgrade suceeded
And now, you can use vSphere Client to login to new ESX 4.0 to see the new interface of ESX 4.0.

'VMware Server cannot find the virtual disk' on VMware Server

Summary
When starting the VM on Blade 5, the following error appears:
    VMware Server cannot find the virtual disk "//disk3.vmdk". Please verify the path is valid and try again. Cannot open the disk '//disk3.vmdk' or one of the snapshot disks it depends on. Reason: The system cannot find the file specified.
You may find that the your file equivalent of "disk3.vmdk" may not be found. However, other files may be found:
    -r--r--r-- 1 root root 11 Dec 21 16:38 disk3.vmdk.RESLCK.WRITELOCK
    -rw------- 1 oracle dba 4096 Sep 25 17:52 disk3.vmdk.RESLCK
    -rw------- 1 oracle dba 437 Dec 12 13:41 disk4.vmdk
    -rw------- 1 oracle dba 437 Dec 12 13:41 disk5.vmdk
    -rw------- 1 oracle dba 437 Dec 12 13:41 disk6.vmdk
    -rw------- 1 oracle dba 434 Dec 12 13:34 disk7.vmdk
    -rw------- 1 oracle dba 434 Dec 12 13:37 disk8.vmdk
Deleting the disk3.vmdk.RESLCK.WRITELOCK file did not make a difference.

Details
1. Manually create the //disk3.vmdk file (copy any of the other ones, e.g. disk5.vmdk), and change the following two values:
CID=0187ef8f                   <-- this should be a random number
RW 20971520 FLAT "/dev/sdh" 0  <-- change this to /dev/sdh or equivalent to your environment

Explanation why I used "0187ef8f":
Per http://sanbarrow.com/vmdk/vmdk-basic-CID-chain-repair.html, CID was a number randomly assigned by VMware Server. I figured, why not use a random CID (I just used the one in the website), after confirming that it's not in any of the .vmdk files.

Explanation why I used /dev/sdh:
All the other .vmdk files were already pointing to various files under /dev:
    disk4.vmdk: RW 20971520 FLAT "/dev/sdi" 0 disk5.vmdk: RW 20971520 FLAT "/dev/sdj" 0 disk6.vmdk: RW 20971520 FLAT "/dev/sdk" 0 disk7.vmdk: RW 2097152 FLAT "/dev/sdl" 0 disk8.vmdk: RW 2097152 FLAT "/dev/sdm" 0
So that leaves the only available ones:
    /dev/sdg /dev/sdh
Since lun33.vmdk was the first file, I chose to use /dev/sdh which was the one immediately preceding /dev/sdi and used by lun34.vmdk. This was a risk, but what choice did I have?

2. The VM server started up!!!

Wednesday, April 6, 2011

Application Virtualization (App-V) 4.6 – Video Demonstrations and Tutorials

Learn how to create, configure, publish, and maintain virtual applications with Microsoft Application Virtualization with these eight new short videos from the Springboard Series.


Create a Virtual Application Using the App-V Sequencer

The Application Virtualization (App-V) Sequencer is a powerful, easy-to-use tool that enables IT professionals to create a new virtual application. This video will walk you through the different files that make up a virtual application package and teach you how to:
  • Run the App-V 4.6 Sequencer to sequence an application.
  • Create file type associations and shortcuts.
  • Configure a custom application package.


Launch a Virtual Application and Review Client Configuration

The Application Virtualization (App-V) Client provides the IT administrator with many flexible configuration options depending on their enterprise business requirements. This video will outline the user experience when launching an application and demonstrate:
  • How to apply configuration at package time, such as Send To and File Type Associations (FTAs).
  • How to remove the App-V notification when an application launches, and other client configurations.
  • How App-V provides a seamless user experience while leveraging the power of virtualization to avoid application conflicts and installation.


Publish a Virtual Application Using Full Infrastructure Mode

The Application Virtualization (App-V) Management Console enables you to publish virtual applications to your end users as well as create license metering rules and run reports about your applications. In this screencast, you’ll learn how to:
  • Import a virtual application for publishing.
  • Create File Type Associations (FTAs) if you chose not to do them at sequence time.
  • Assign applications to the appropriate users via Active Directory security distribution groups.


Update a Virtual Application Using App-V

All Application Virtualization (App-V) application updates occur when the user launches the application. Updating virtual applications using App-V is a simple process that does not impact user productivity because it does not require the user to install an application, or reboot. Familiarize yourself with the upgrade experience from a user perspective then learn how to update a virtual application using App-V.


Deprovision a Virtual Application

One of the great capabilities provided by Application Virtualization (App-V) is its ability to seamlessly deprovision the application without impacting user productivity, requiring user or application downtime, or requiring the need to uninstall or reboot. This screencast will show you how to quickly and easily deprovision a virtual application using App-V.


Run Microsoft Office in an App-V Virtualized Environment

 Microsoft Application Virtualization (App-V) provides the ability to deliver virtual applications to users on demand out of the box. With App-V, you can run multiple versions of applications on the same computers where small groups of users will not be adversely impacted by fast deployment and speedy migration, or incompatibilities in file formats between versions of the same applications. In this video, we’ll demonstrate how two different versions of Microsoft Office Word can run side-by-side, and how data can be shared between the different versions.


Use App-V Metering to Manage Application Licenses

Microsoft Application Virtualization (App-V) provides the ability to deliver, meter, and manage virtual applications on demand out of the box without requiring any additional software or tools. This screencast will demonstrate:
  • How to create, apply, and report on a metering rule.
  • The user experience when a rule is enforced.
  • The importance of metering in assisting IT to controlling access and in purchasing the appropriate number of application licenses.


Use Dynamic Suiting to Create a Plug-in Dependency for Virtual Applications

Dynamic Suite Composition (DSC) provides the ability to link applications together to create a small footprint for each application by sharing common, non-conflicting dependencies such as add-ins and middleware components. DSC also helps simplify permissions so that, once permissions are granted to the user, the user will automatically receive the plug-in the next time the application is launched without waiting for installation or having to perform an additional activity. This video will walk you through the simple process of using the DSC tool, and show you how to create a plug-in dependency in Microsoft Office Word using DSC.
Access additional resources including a Getting Started Guide, planning and design guidance, and security best practices on the MDOP page. Also read – 64-bit version of App-V 4.6 Download and MDOP 2010 Launches!